

If your garbage disposal has stopped working — or is no longer working properly — you are likely looking to replace it.
Doing projects yourself can save you a lot of money, and replacing your garbage disposal is a relatively straightforward process that most people can handle on their own. There are two phases in doing so — removing the garbage disposal and replacing it with a new one.
Many of the newer garbage disposals come with the parts you need for replacement. A new disposal will likely run you anywhere from $250 to $400 on average, depending on the model.
Where to Begin
There are a few things you’ll want to do before you dive into replacing your garbage disposal.
1. Make sure your garbage disposal needs to be replaced
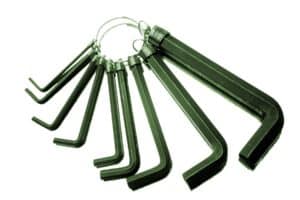
Before you begin replacing your garbage disposal, you’ll want to troubleshoot and confirm that it truly needs to be replaced. One thing you can do is to use an Allen key on the bottom of your disposal and try to manually turn the motor. This may loosen up any food particles that may have caused it to seize up.
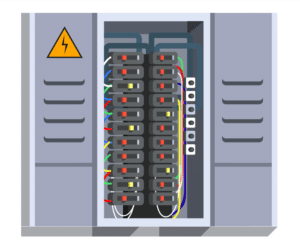
Second, you can try resetting the breakers that provide the power supply to your garbage disposal. If you have an electrical outlet under the sink, check to see if a breaker associated with the outlet has tripped.
2. Understand the structure of your garbage disposal
Next, you’ll want to spend some time examining your new disposal to see how the pieces fit together. This will give you an idea of the process you’ll have to go through in its installation.
3. Gather the necessary tools
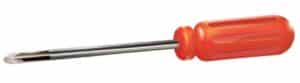
Garbage disposal kits often come with all of the tools you’ll need for installation. If not, you’ll likely need a Phillips screwdriver and an Allen key set.
4. Set up your workspace
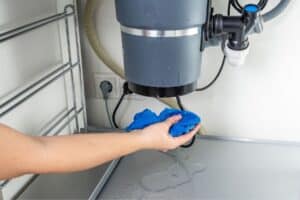
You may find water leaking during this process, so placing a bucket or bowl underneath the disposal to catch any dripping water is a good idea.
5. Shut off the water main
Shutting off your water main can help you avoid any inadvertent water leakage.
Phase One: Remove the Garbage Disposal
Now, you’re ready to go about removing the garbage disposal.
1. Shut off the electricity to your garbage disposal and unplug it
First, shut off the garbage disposal and unplug it from under your sink if it has a plug. If it has another type of electrical connection, you’ll need to disconnect it. Either way, be sure to shut off the power supply and double-check it with an electrical tester to ensure that none of the wires you’re working with are live.
2. Remove the discharge tube pipes
Next, detach and remove the plumbing connections from the disposal.
3. Detach the garbage disposal from the mounting ring
Once the garbage disposal is fully disconnected, detach it from its mounting ring. You’ll want to be very careful, though, because garbage disposals can be quite heavy. Note that as soon as it is detached, it will fall.
4. Remove the garbage disposal
Congratulations! You’ve successfully disconnected your garbage disposal, and you can now remove it fully.
Phase Two: Garbage Disposal Installation
Next, you’ll follow the same procedure as you did while removing the old disposal, working backward to install the new one.
1. Prepare the garbage disposal by removing any plastic caps blocking connections
Many garbage disposals come with plastic caps to block their connections. Be sure to remove these so that the new disposal isn’t immediately grinding up plastic.
2. Replace seals and any rusted connections
Typically, garbage disposal kits will come with replacement seals and connection pieces, so be sure to replace any old or rusted parts before you reconnect the plumbing.
3. Reconnect the new garbage disposal to the mounting ring
Next, you’ll reconnect the garbage disposal to the mounting ring. It usually twists into place.
4. Reattach the discharge tubing
You’ll then reattach the discharge tubing, reattaching everything loosely to make sure it all fits before finally securing the disposal into the mounting ring and attaching the plumbing securely.
5. Don’t over-tighten anything!
Beware of overtightening any pieces. PVC plumbing can be fragile and may break if you overtighten it. As a rule of thumb, a connection should only be tight enough that you can still easily loosen it.
6. Run the garbage disposal to make sure that it functions properly (and watch for leaks)
Next, you’ll want to turn on the water and the electrical supply. Then, run the garbage disposal and make sure that it functions properly. Watch for any leaks and adjust the plumbing as necessary.
If you get stuck during this process, you can refer to this helpful YouTube video. You can also give RJ Tilley a call if you find yourself in a bind. Our expert technicians will help get everything back in order.
Keeping Your Garbage Disposal Running Smoothly
Now that your new disposal is installed, you’ll want to keep it running smoothly. Be sure to run cold water during the disposal process and run water after you’ve turned the disposal off to keep everything flowing.
If you find that your garbage disposal has begun to smell, you can check out our maintenance blog to help you get it back in tip-top shape.